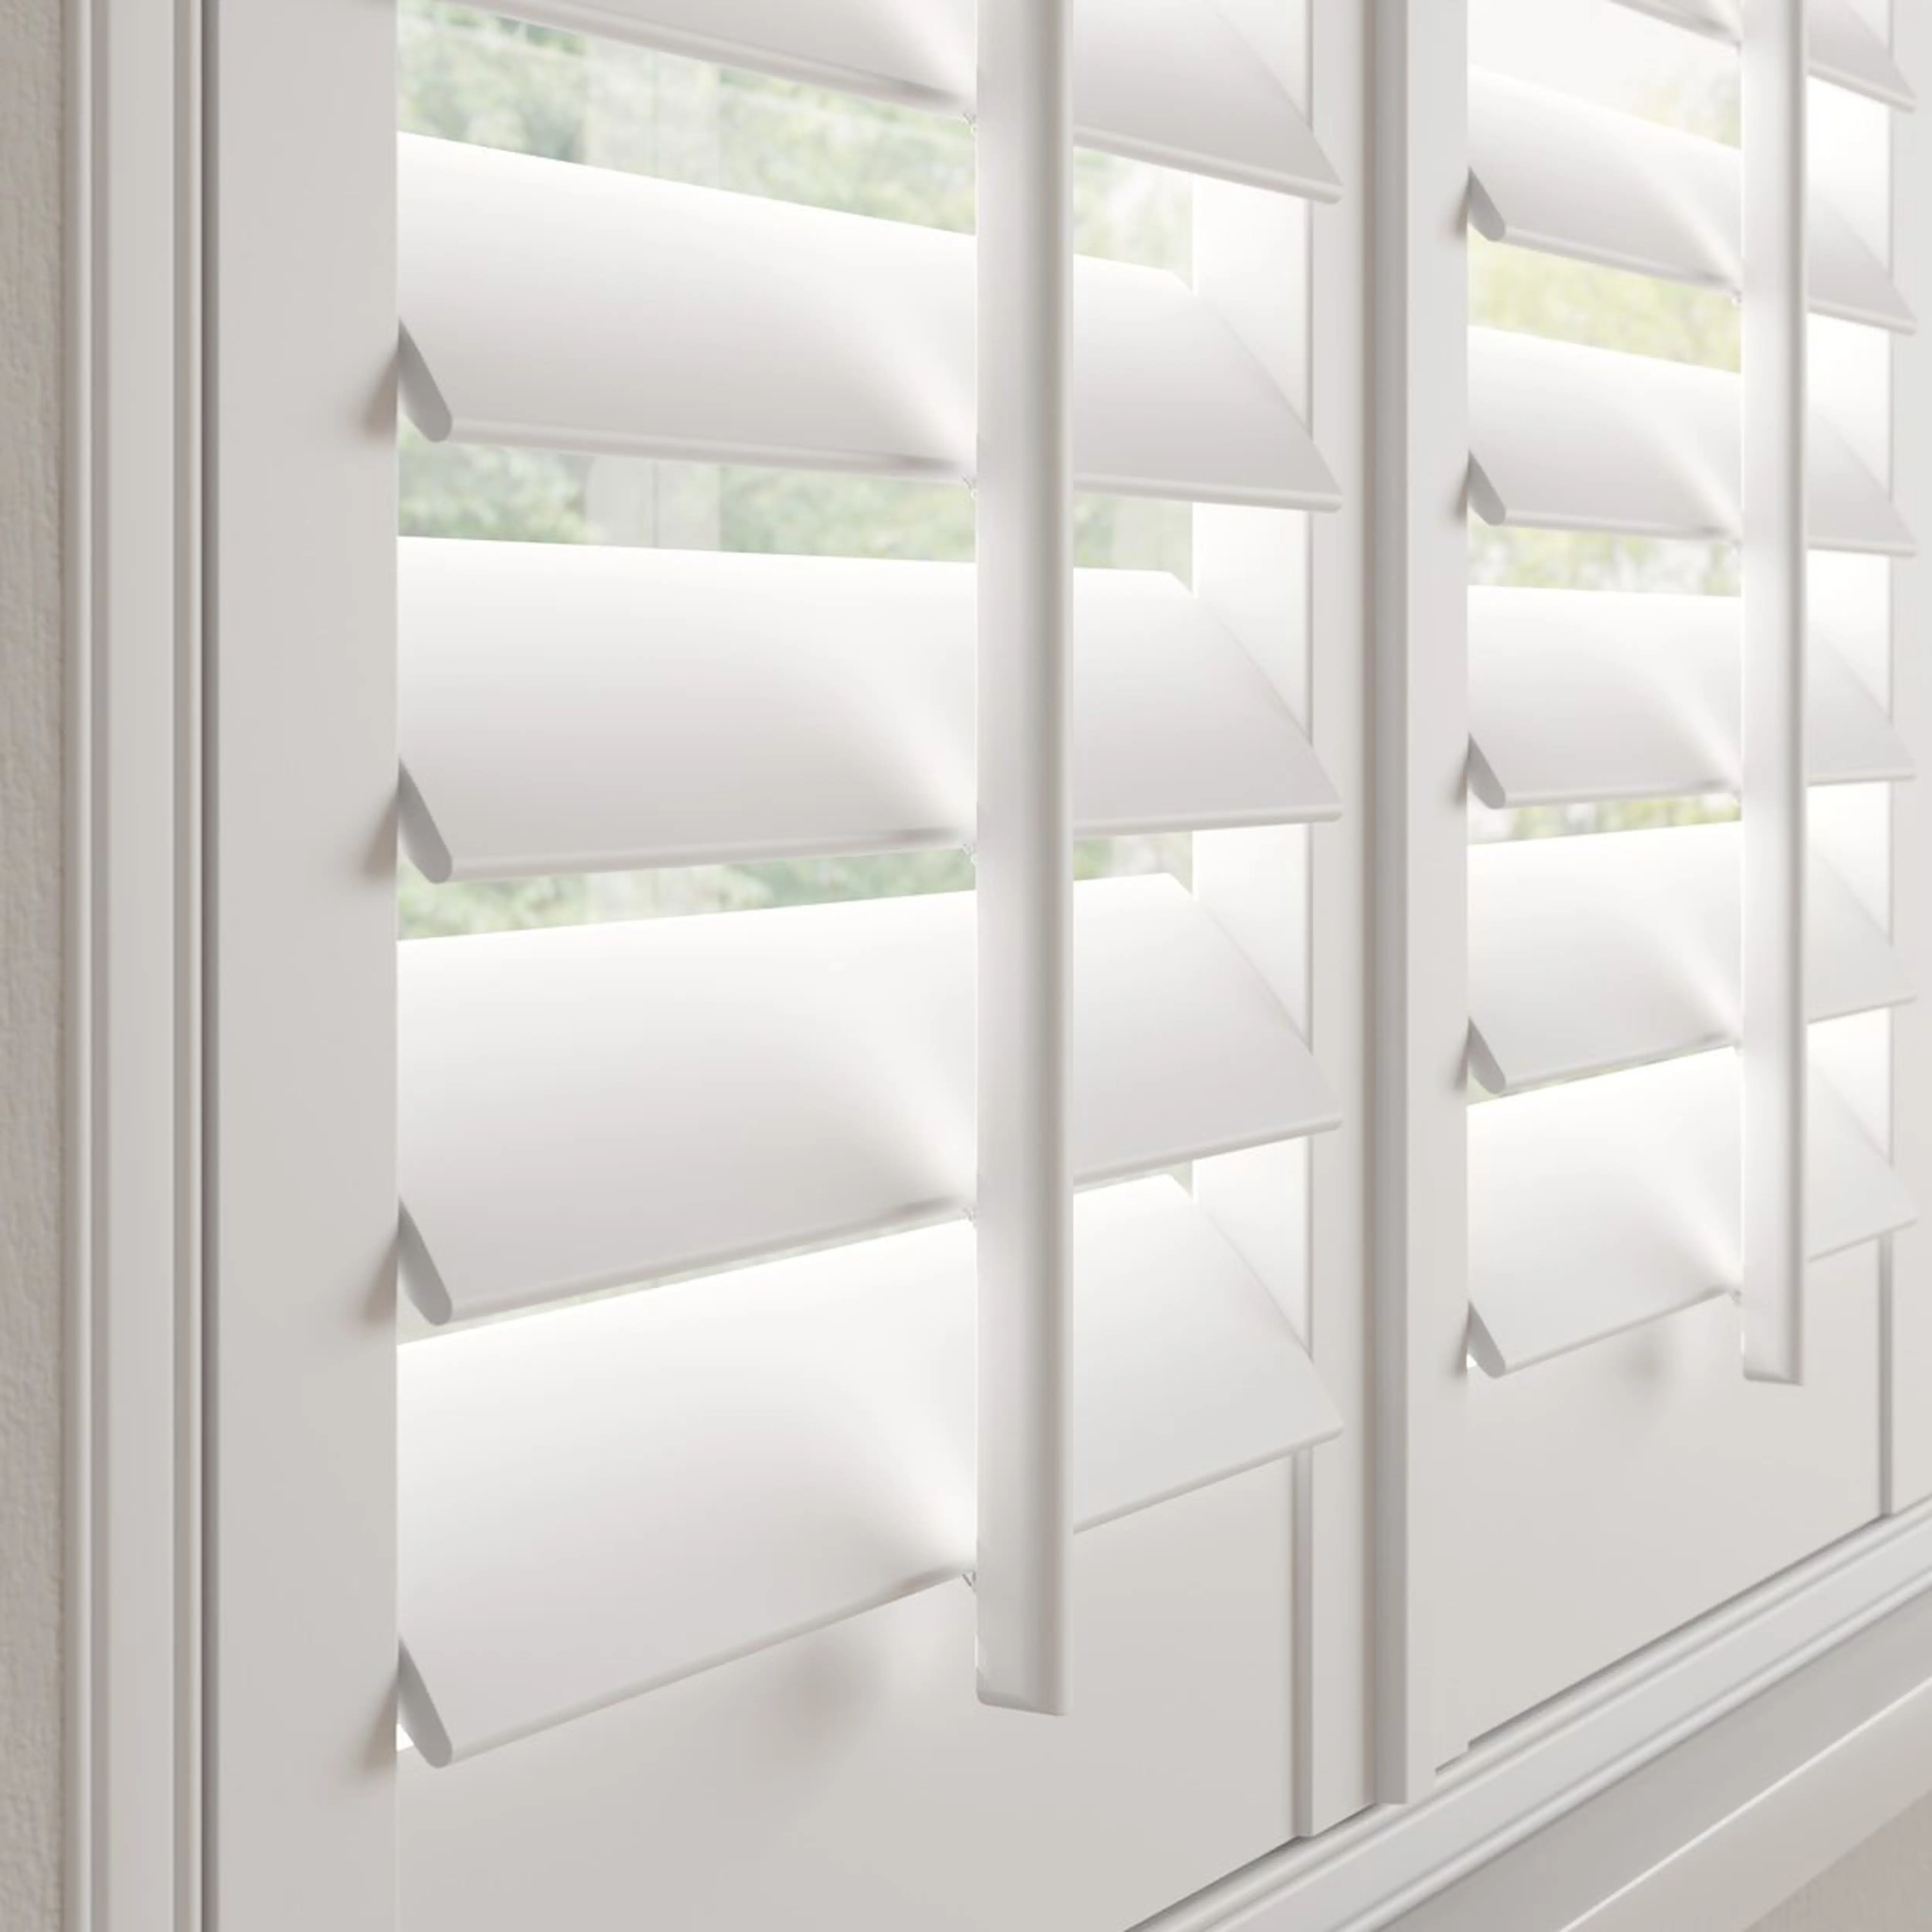
How to Make Window Shutters
21st March 2024
3 min read
21st March 2024
3 min read

Whether you're a complete novice or a seasoned DIYer, there are a few things that should be left to the experts. And building your own DIY shutters is one of them.
Building a set of window shutters can be time-consuming, especially if you’re working with basic tools. And while most DIY projects are money savers, building your own shutters from scratch might cost you more than buying ready-made DIY window shutters.
For a cost-effective window treatment solution that’s still got that DIY feel, we would always recommend ordering DIY shutters.
But, if you’re still looking for a guide on how to make your own window shutters, here’s a quick step-by-step.
As with any DIY job, precision is your best friend. Measure your window's height and width to determine the size of the shutters needed.

With your measurements in hand and the material selected, it's time to cut your panels, slats, and frames. If you're working from scratch, you’ll need a table saw.
Sand your shutters to smooth any rough edges, then apply paint or stain to match your décor.

Now, for the assembly. Connect the frames, then attach the slats to the shutter panels. If you're feeling experimental, play with the tilt mechanism to see how it affects the light and privacy.
While the journey of making your own window shutters can be satisfying, it comes with its challenges.
Making your own shutters might look simple, but only the most confident of handy people should attempt to such a job.
Our DIY shutters bridge the gap between fully DIY and fully installed, offering pre-measured, pre-cut components that simply need your assembly and installation.
It's the perfect solution for the DIY-er looking for a project that's as enjoyable as it is manageable.
Once you’ve shopped our stylish collections, it’s time to get to work. Our simple measure and install guides keep things nice and simple.
Need an extra hand? Click the chat icon at the bottom right of the screen to speak to an expert.